Saturday, January 11, 2014

December Wedding Cake

In December I was asked to make a wedding cake with a gingerbread filling to go with the season. This was my first gingerbread filling, and I was excited for the new challenge. I did some research, and found this recipe from Martha Stewart that I used as my base. 


Spice mixture: ginger, cinnamon, allspice, nutmeg, cloves, and salt.
Making the simple syrup for the buttercream with brown sugar for that molasses flavor that gives gingerbread its deep flavor.
I did a small test round and found that the flavor wasn't overly strong, and I knew it needed to pack a punch to stand up to the cake and regular buttercream frosting. I upped the nutmeg and the ginger, being careful to keep a balance without overwhelming and the final product had great gingerbread flavor that had a somewhat eggnog-like finish. I was pleased, as that was still in the "holiday" realm we were going for. 

It was your standard cake, but they didn't have a cake topper, which has me thinking that for people who don't have a cake topper, I could make a 3-inch tier that could also serve as their tier for their 1st anniversary. But that will come with the next cake. I keep learning something every time I make one. And my goal for this year is to make 6, so help spread the word!

I took pictures of all of the steps, but totally forgot to take a picture of the finished product. Below are all the "prep steps" as I often share pictures of the cake and frosting making, but never the other parts that go into making the cake. I often get asked how much time it takes to make a cake, and I've got it down to about 24 hours total. Some of that is "inactive" time while waiting for the cakes to bake, but most of it is in the kitchen, stirring, measuring, watching, and frosting. And getting pans ready.
Cake boards and cake boxes make the moving, freezing, assembling, and transporting so much easier. I don't think I could do a cake without a board.

Prepping pans: start with clean dry pans.

Then butter, and flour. I always use the same cake flour that I bake with.

Finally, line with parchment paper. I think they sell pre-cut parchment rounds, but I just cut my own every time.

Butter, butter, butter. A 3-tier wedding cake uses 5.25 pounds of butter, and that doesn't include the filling.


Saturday, November 30, 2013

Fall Photo Update 2013

Here's a quick photo overview of what I've been up to over the past month:

Wedding cake: (Same as this one. Each one gets easier, so I was very happy that I've shaved about an hour off my prep/cook/set up time.)
Batter and finished cake. I love this transformation.
I love "messy" frosting. It covers all potential mistakes. (Not that I ever make any...)
Pies for Thanksgiving:

Apple
Pecan

White bread for Thanksgiving Stuffing: 

The Joy of Cooking basic white bread recipe. It's never failed me. 
 Making my own vanilla extract:
2 or 3 years ago, my father in law gave me vanilla extract he made himself. I'm finally getting around to making my own. It takes approximately 3 months, and I have to use store-bought to supplement as I go through tons of vanilla.

 There's another pie and wedding cake in the works. I'll take step by step of the cake as it has a new filling that I'm excited to try!


Saturday, November 2, 2013

Thanksgiving Pie Orders - Get them in now!

I can't believe it's November already! Are you already thinking about your holiday plans? Are you thinking about adding a pie to that dinner or bringing a sweet dish to that potluck? Let Glowing Evenings Bake Shop help you out!

All orders placed before November 9, 2013 get $5 off. 
Buy two pies and get the third one half off. 
Refer a friend and you both can get $5 off a future order.

Wondering what kind of pie to get? These are our top sellers:

Apple: Made with apples grown in Pennsylvania at Three Springs Farm. A combination of Granny Smith and Golden Delicious with cinnamon, nutmeg, butter, and a flaky crust. You'll be amazed at how many apples are packed into this one. $30

Pecan: A Southern favorite with a custardy base full of chopped pecans and topped with halved pecans. A sweet, sticky delight. Also available in gluten-free. $28

Pumpkin: The holiday classic. Pumpkin with spice. Also available in gluten-free. $28 (Fresh pumpkin available upon request for an extra $5)

French Silk: When you want the rich, smooth flavor of chocolate instead of spice. Contains raw eggs. Also available in gluten-free. $28

Don't see your favorite pie on here? No worries! We make all kinds, just ask!

Email gloevedun (at) gmail (dot) com to place your order!


Saturday, September 28, 2013

CROISSANTS!

Whenever I think of the word "croissant" I think of Chris Kimball on America's Test Kitchen saying the word in a very affected French accent that we might or might not have made fun of. I say it the American way, pronouncing the "r" and the "t". It doesn't really matter how you pronounce it, as long as you're thinking of the buttery, flaky, amazing pastry that will change your life. When I had some time off between job in July, I decided to tackle these because the recipe takes a few days. I divided up the dough and made half in a normal crescent shape and the other half into chocolate croissants (pain au chocolate), which is clearly the better of the two. I took tons of pictures, so this will be a very visual blog.
Mixing by hand, with my hard plastic spatula that I got with my food processor. I've found it to be the best for dough.

Add a little flour to combat the humidity.
Slightly sticky, perfect dough.

Three beautiful sticks of butter. Is there anything better? 
The butter needed to be pounded out to an 8 inch square. I just use my tape measure from my tool box. It's covered in flour and at this point, probably has never measured anything related to hardware or repairs.

Adding the butter to the dough. The key here is to make sure we end up with flaky layers at the end.

A butter-dough envelope. I really could eat this without baking. 
Wrapped and ready for the fridge for a long overnight rest.

This is my workspace. I have a slightly bigger counter next to the sink, but I like this one better for some reason. (And that's a Whynot utensil holder!)

The rested, ready to go dough. Before it got to this point, I would take it out of the fridge, roll it out, and fold it back up like an envelope to create layers of butter and dough. Can you see those chunks of butter? That means flaky pastry!

The dough cut up for shaping. The left will be chocolate and the right will be regular.

Shaped and ready for rising in the fridge!

Dark chocolate and dough. I love dough. It's the best.

Chocolate croissants, ready to rise. (Sorry this picture is a tad blurry.)

Two sides of the same coin, ready to rest and rise. After this, they went into the fridge overnight. Just like the song says, the waiting is the hardest part. I kept checking in, anxious for them to rise. 

And when they were done rising, I brushed them with egg wash and popped them in the oven. And they came out like this!

Golden, beautiful, soft....

And oh-so-flaky. Mmmmmmmm.
I will definitely make these again. They were worth the waiting and the work. Should the government shutdown, this might be a project to keep me busy in this coming week. My only complaint was that these weren't as good the second day, so I really needed to eat them all the first day. Sometimes life is hard.

Tuesday, September 24, 2013

Biscuits!

Being a proud Southerner, the two hardest things for me about living in DC are finding good sweet tea and good barbecue. I don't really make my own sweet tea, but sometimes I crave it, and I still can't find proper barbecue here. I've learned to live without those on a regular basis. One thing, though, I wasn't willing to live without was a proper biscuit.

My mom and grandma both made amazing biscuits, but their recipes were basically, "throw a little of this with a little of that, make sure the moisture is right" and then you had biscuits. I never quite mastered that. However, I did love to eat biscuit dough, so I knew what a proper biscuit should taste like before it went in the oven. After years of tweaking, I finally got it right!

4 cups all purpose flour (plus extra to dust the counters)
1 Tablespoon baking powder
1 teaspoon baking soda
2 teaspoons salt
1/2 cup butter (chilled and cut into pieces)
1/2 cup shortening (chilled)
1 1/2 - 2 cups buttermilk

Preheat your oven to 375. Mix the dry ingredients together with a whisk (or use your pastry blender because you're about to break that out anyway). Sprinkle the butter and shortening over the flour mixture and cut them in with a pastry blender or two knives until the mixture is like coarse crumbs/peas/whatever visual you use to determine your butter has been properly cut into your flour. (This is why I don't often write recipes; it's all about feel to me.) Make a well in the center of the flour and pour in approximately a cup of the buttermilk. Mix with a rubber spatula until it comes together in a slightly damp ball. Add buttermilk as needed to get it to come together in a ball if it seems dry.
Flour your board/counter and dump the dough out. Knead it together a few times until it comes together in a smooth ball, but isn't overly sticky or tough. Pat it out with your hands (or roll with a rolling pin) until it is about 1 inch thick. (If you want thicker or thinner biscuits, make your dough fit your desires.) Use a 2 inch round cutter to cut your biscuits. Place about a half inch apart on a baking sheet lined with parchment paper. Brush the tops with buttermilk or melted butter. Bake for 25-30 minutes, or until golden brown on top. Remove from oven and the baking sheet as soon as they are done to keep from burning the bottoms. Makes approximately a dozen.
Serve with butter, honey, or just eat warm from the oven with nothing else. These are fluffy, the perfect amount of butter, and are good for breakfast, lunch, dinner, and snacking.

And yes, the dough for these tastes just right. Enjoy!

Friday, July 5, 2013

Wible-Storey Wedding Cake

Approximately a year ago as I was making my own wedding cake, my friend Heather came to help me out a few days early with all those fun little wedding details that need to be done. And the whole time she talked about this great guy, Evan, and I knew something was definitely happening there. So, here we are, a year later, and I was honored to go to Cleveland to make their wedding cake.

There were a few challenges with this one that were new, and there were a few moments when I was terrified that it wasn't going to work out. But I showed that cake who was boss.


First, I mailed all of my baking supplies to Heather's house in Cleveland so they'd be waiting for me when I arrived. She was kind enough to buy me all the ingredients I'd need to make cake for 150 people, which included 5 dozen eggs and 8 pounds of butter. (People kept walking through the kitchen, marveling at the amount of butter that was on the counter. In the end, I only had a stick and a half left.) Heather was kind enough to pull every bowl, measuring cup, spoon, and spatula she had for my use. Her wonderful gas oven was at my disposal, and once I had some extra coffee in me, I got to working.

I started with a lemon curd and a raspberry filling for their cake. I'd never done either of these before, but they came out well, or so I felt on that Wednesday afternoon. I then went to buttercream mode, and made 4 batches of the buttercream, equalling about 25 cups of buttercream. That was a lovely sight to behold.
I can't ever pass up the chance to take a picture of beautiful buttercream.
Around 5 or 6 pm on Wednesday before the Saturday wedding, I started on the cake itself. My first batch did not look like it was supposed to, and the fact that I was in a strange kitchen, had been up since 5 am, and had flown on a plane started to get to me. My first worries about this cake cropped up, but I realized my butter was over soft from the too-warm kitchen, so I stuck everything in the fridge to keep it from all out melting. I made one more round of cake and called it quits for the night.

The next day, I got to it and finished making cake for the display cake and made a rectangular cake to serve when the display cake ran out. I started to assemble and my first group of cake with filling slid everywhere. I immediately stuck it in the freezer (allowed) and told Heather that I apologized in advance for the fact that I was anxious about her cake and wasn't sure it was going to work out. The other tiers slid a little as well, and I'm not sure if it's because the cake was incredibly fresh (usually I've made it two weeks in advance and kept it in the freezer), the filling was too soft, or what, but by Thursday evening, I was very worried. I held off on frosting for Friday and would do assembly on Saturday before the 2pm wedding.


On Friday, I moved the whole thing to the wedding site, which was in a lovely house where the family was incredibly kind and let me get buttercream all over their kitchen. (I did clean it up). They also let me take over an extra fridge in their garage to store the cake, and after Friday's frosting, I started to feel much better about how things were going to come out. Heather and I planned to do sugared raspberries and lemons as decoration, and two of the bridesmaids, Chiara and Allison (thanks, ladies!), helped me out with that on Saturday.

Come Saturday, I assembled, thankful that the cake had sorted itself out and stayed upright. The cold helped it. I decorated it, enjoyed a lovely wedding and, then served it up. I've never actually cut a cake to serve before, and it was a little sad to tear apart my creation. But it was worth every bite.

And thanks to Jennifer Van Elk for these fantastic photos of the cake and Heather and Evan enjoying it! Congrats Heather and Evan!


Monday, July 1, 2013

Rosemary Focaccia

A couple of things came together for me to make this tasty, buttery (olive oily?) airy bread (about a month ago because I've been bad about updating, apologies!) --

First, a co-worker gave me some beautiful fresh rosemary from her garden, and I wanted to use it not just in an herb rub on a meat (my usual go-to for fresh herbs), but in a way to bring out that earthy, piney, fresh flavor.

Second, I wanted to make popovers on Saturday, but didn't have any milk because I'd not yet gone to the store.

So, I flipped through my America's Test Kitchen Baking Book (what else would I use?) and settled on focaccia since I'd never made it before. I did end up having to wait until I got back from the store to make this, since there is a potato (yes, a potato) in this recipe and we don't keep potatoes around. Garlic and onions, of course, but no potatoes.

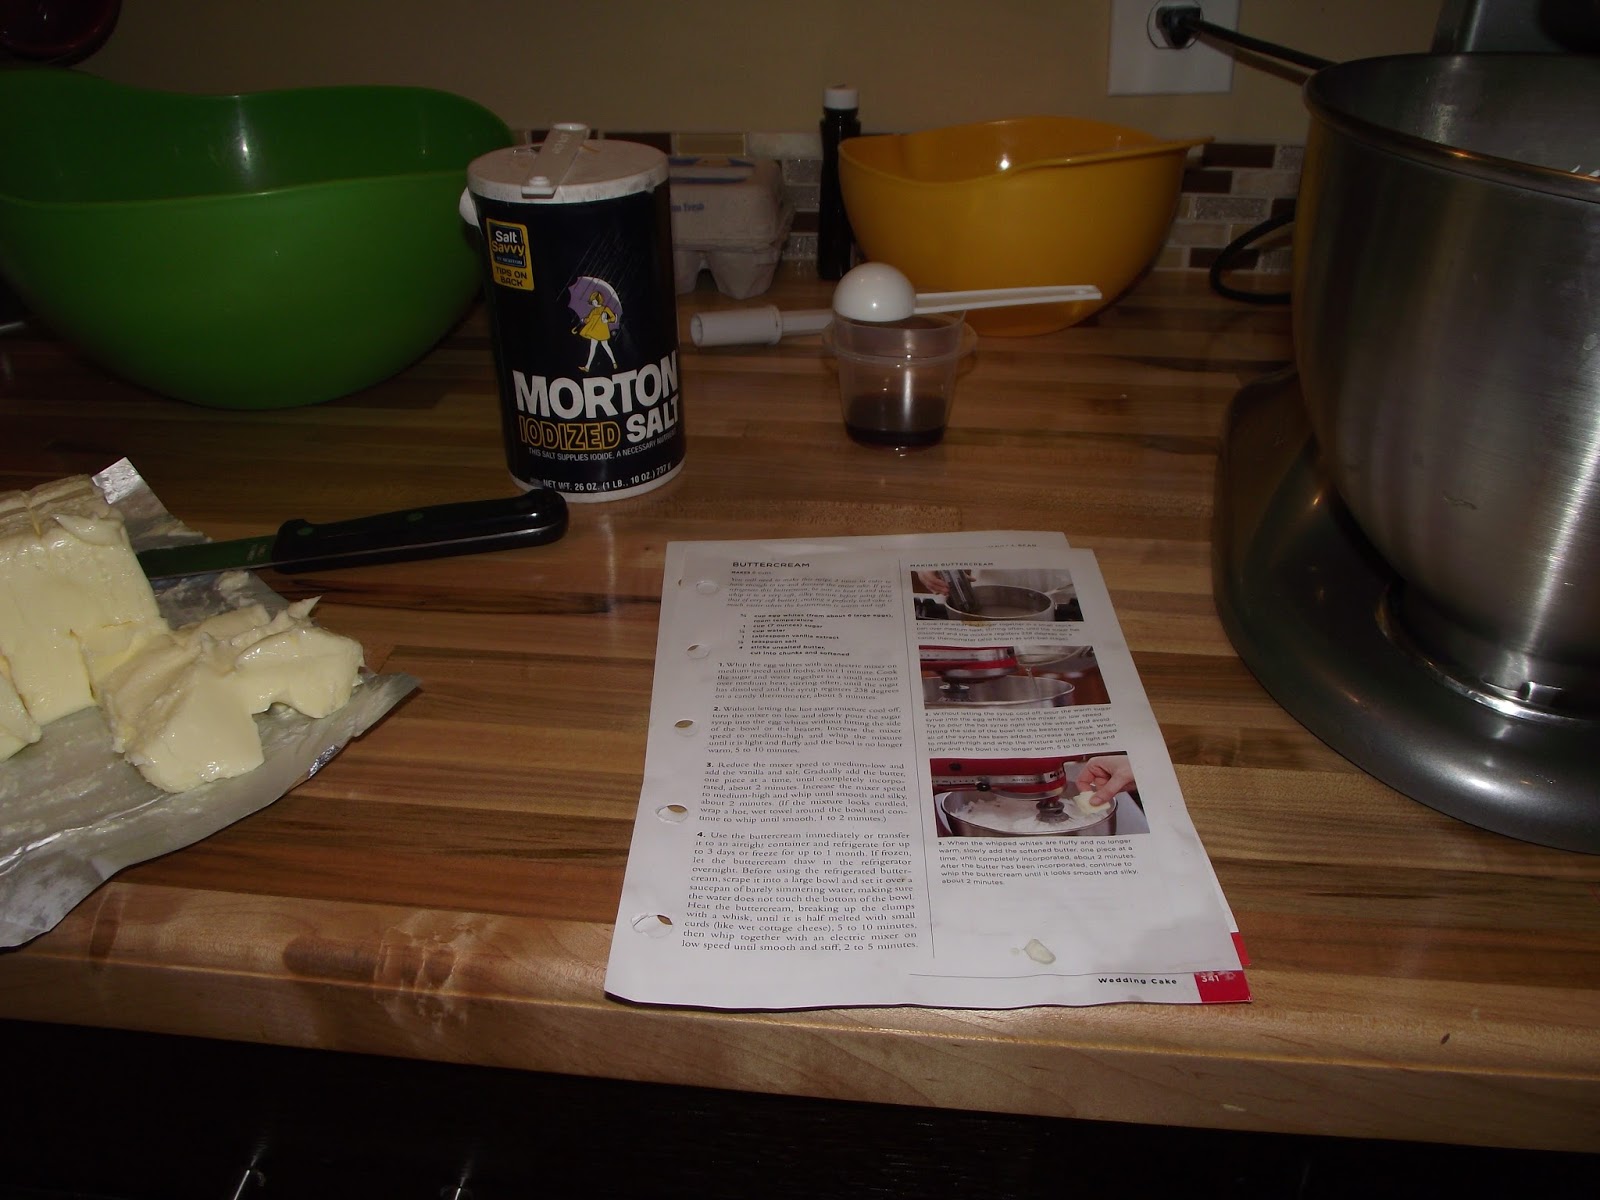
That's the shredded potato in the measuring cup on the bottom right.
I do think it's weird that there is a potato in this recipe. I think that next time I try this, I'll use a recipe from someone with a slighly more Italian background than ATK. Their reason for the potato is a more tender crumb, which this bread has, but I think that if they had you mix by hand rather than in a stand mixer, you wouldn't need to worry as much about this problem.

And now it's time for Gloria's Crackpot Cooking Feelings: I don't think you should use the stand mixer to make breads. Yes, the mixer comes with a dough hook, and maybe if you're making a bread with a very wet dough, it is easier to handle, but the times that I've made dough in the stand mixer, the final product comes out too tough. I think if you're new to bread, then sure, go for it, but it is so much better if you get a feel for dough, and what a dough that has been perfectly kneaded looks and feels like. Plus, I heard this lady on a podcast, and she's firmly in the "by hand" camp.

Back to the bread.


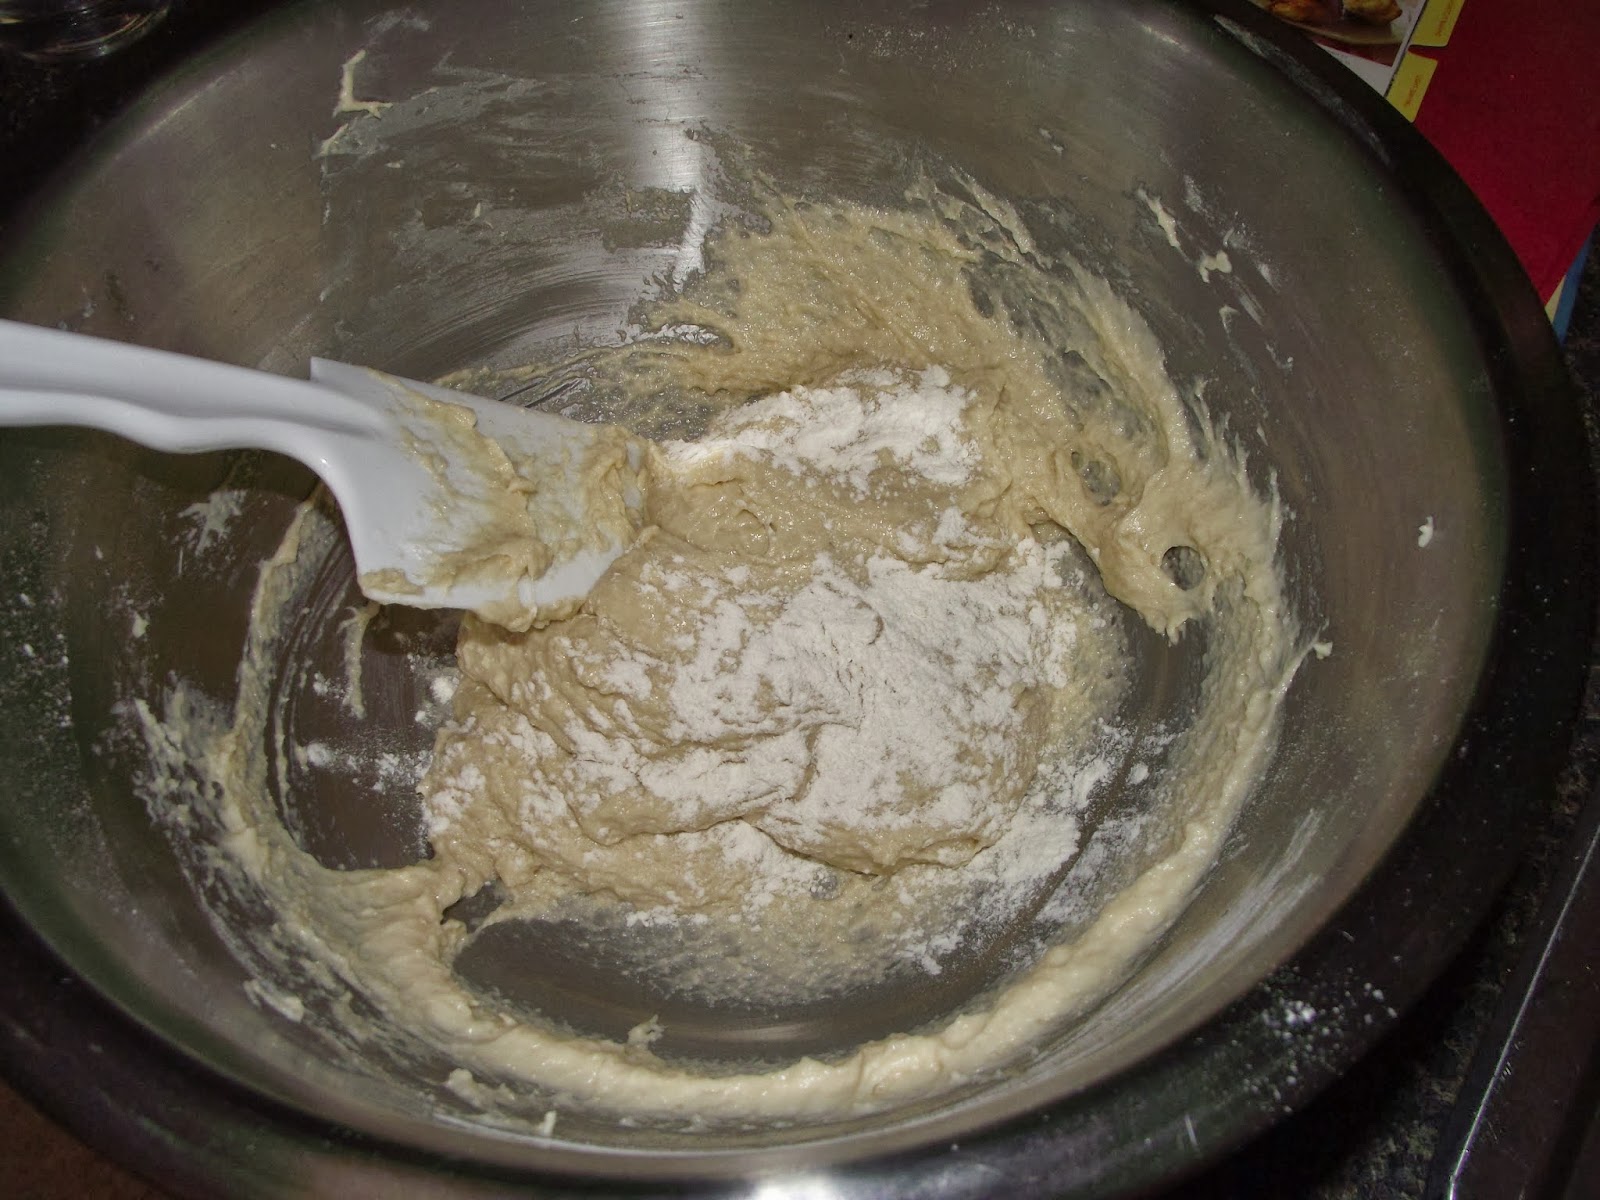
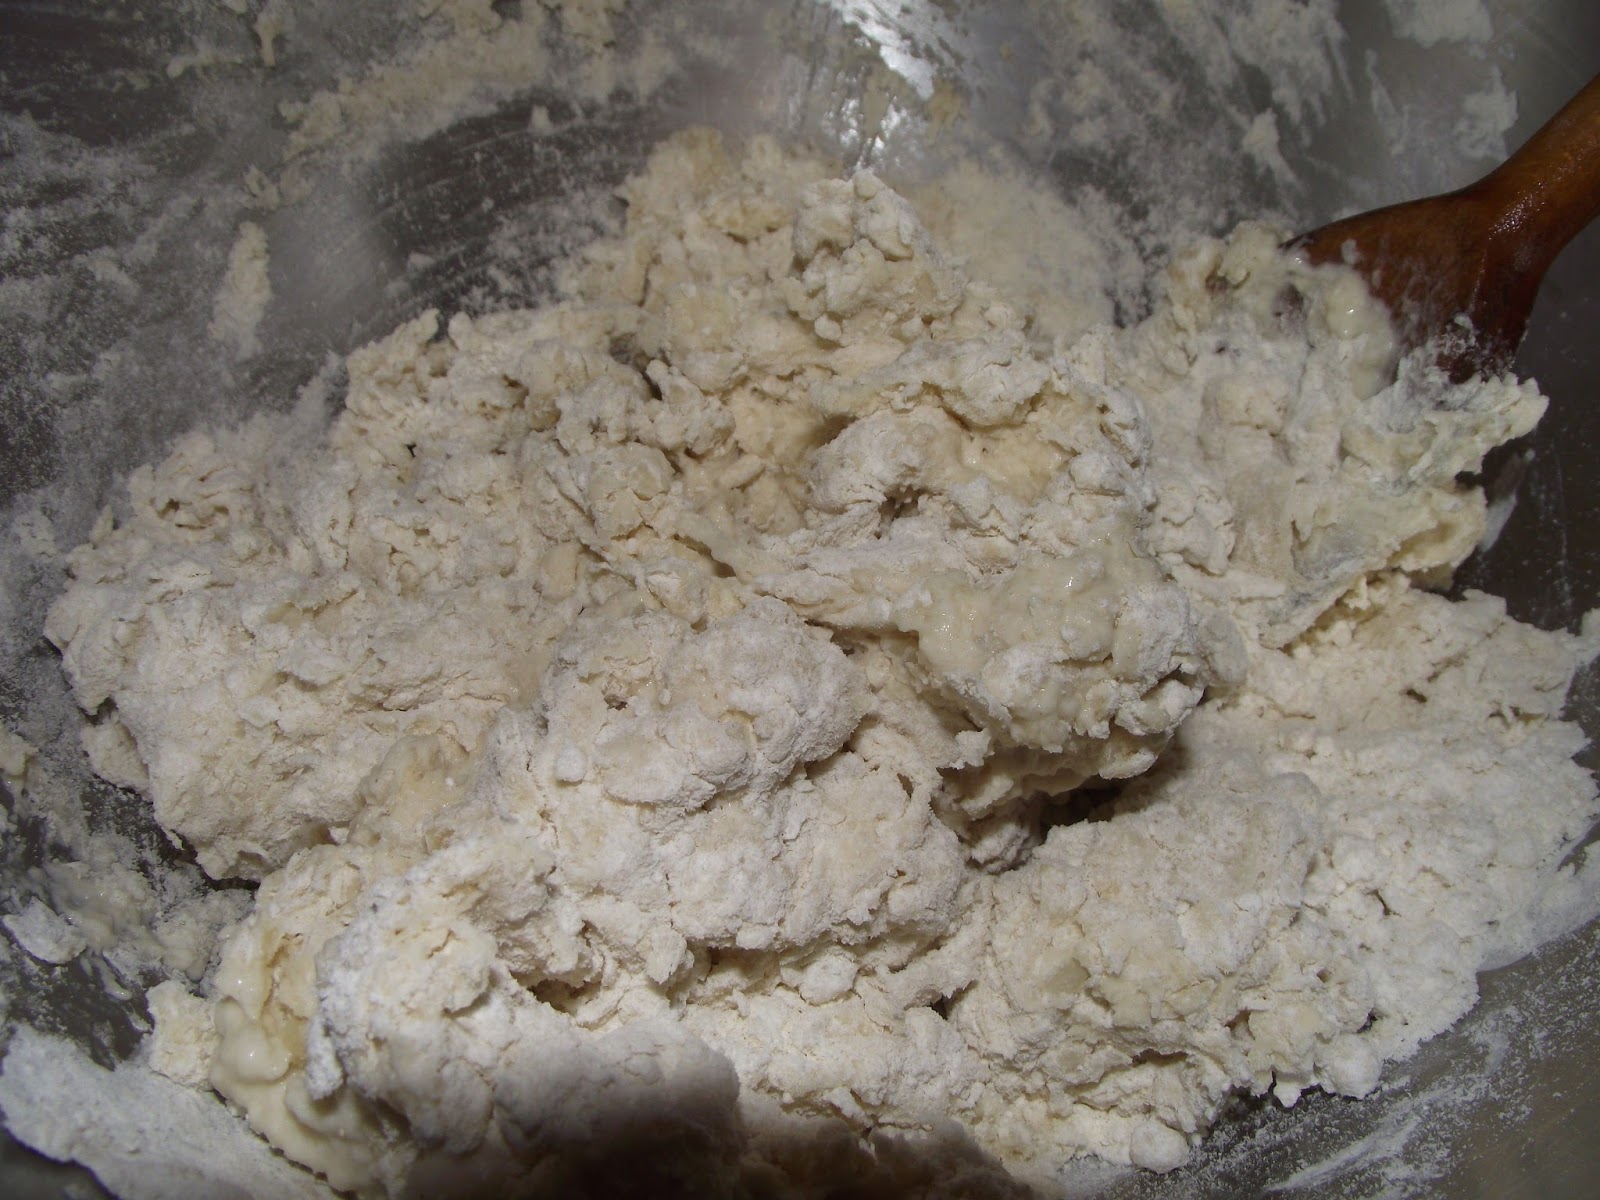
It's just flour, yeast, the potato water from the boiled potato, 1 cup of the boiled potato grated, salt, and olive oil. It's a pretty easy dough and it comes together quickly. Just a few quick kneads, and it was in the bowl resting.

After about an hour, the dough was ready to go and be spread in the baking sheet. More olive oil and then I gently pressed the dough out. It went pretty easily to the corners, but I did give it a few minutes to rest to really get it all the way to the edges.

An hour and a half later it was risen to size and I got to do the fun part of digging my fingers into it. The book doesn't tell you to get rough with it, but 
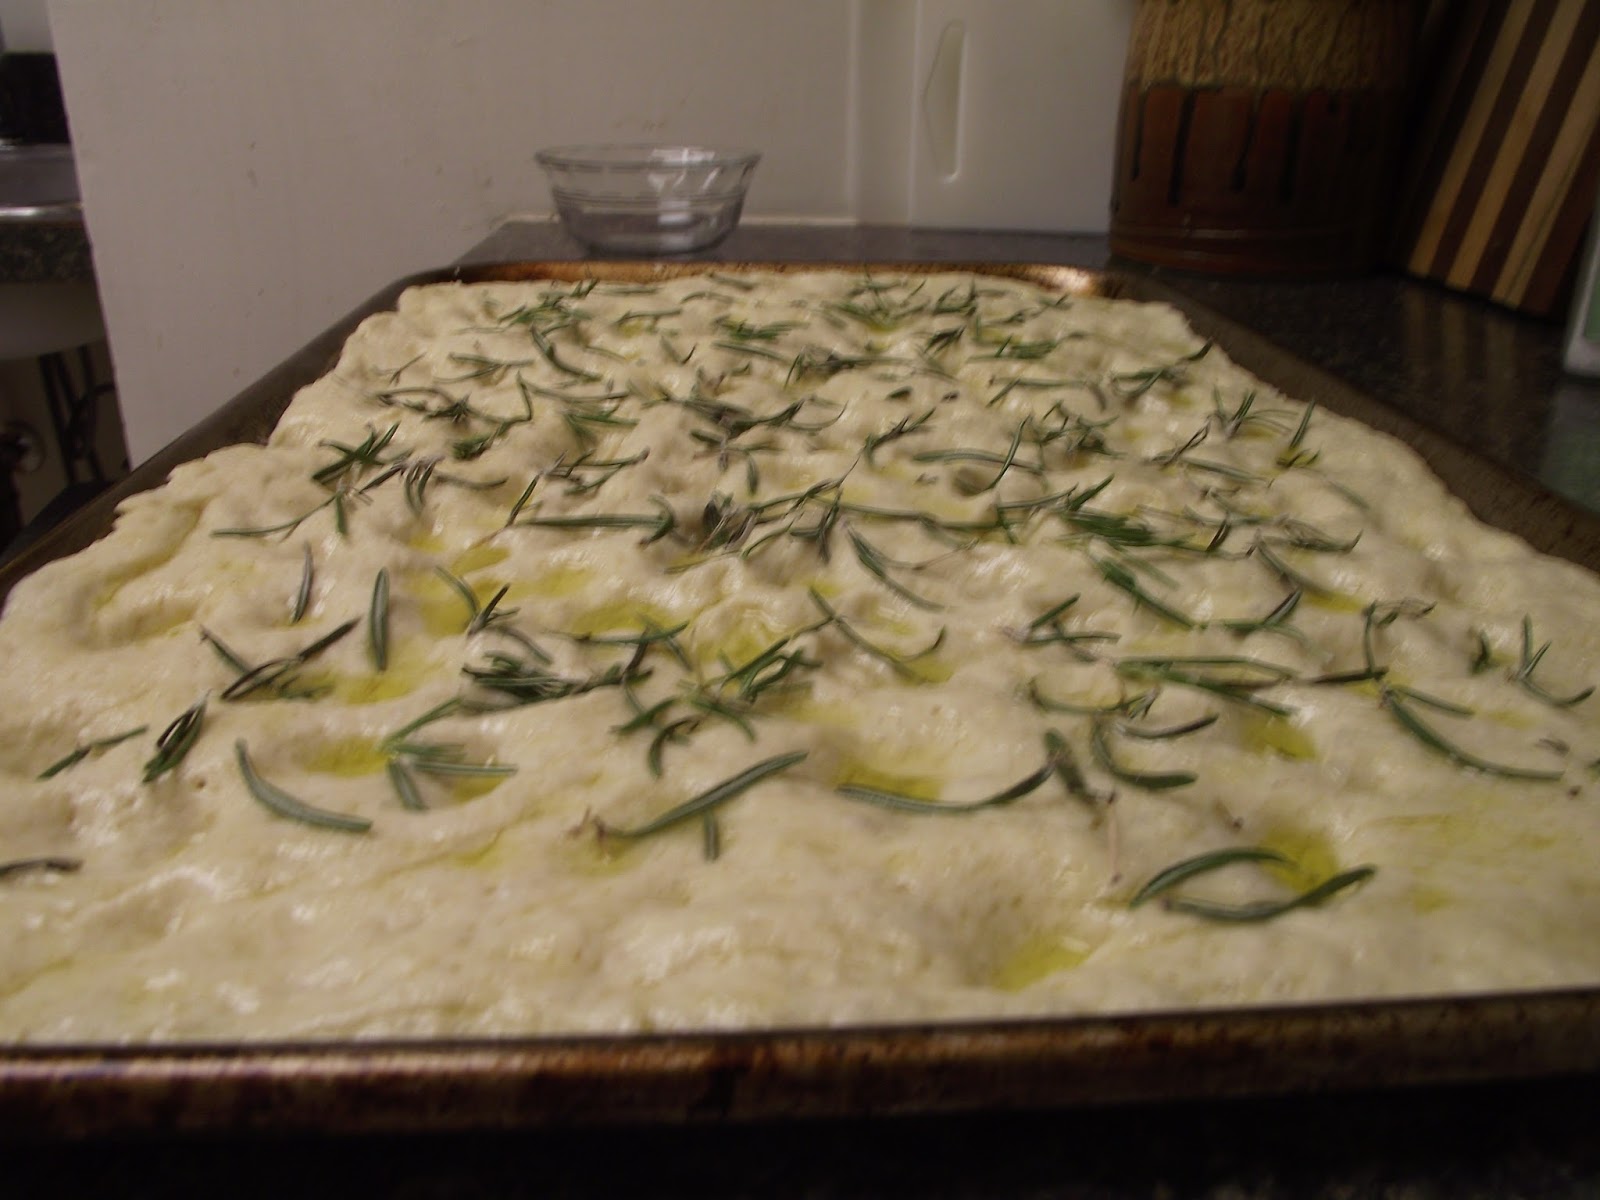
Anne Burrell on her show said that you can be pretty tough with this bread. I really dug in there, and the holes will come together if you happen to get to the  the bottom of the pan. Then I sprinkled the fresh rosemary all over and popped it in the oven.


Twenty minutes later, I had crispy, beautiful focaccia. I had to wait 10 minutes before I sprinkled it with sea salt and could dig in. It was definitely tender, flavorful, and amazing. I've been oversalting my food lately, so I held back on the salt, but I would say next time that I could really go for it. And I will definitely try a more traditional recipe next time. Nevertheless, this was worth it and I will make it again.