Showing posts with label DIY wedding. Show all posts

Saturday, January 11, 2014

December Wedding Cake

In December I was asked to make a wedding cake with a gingerbread filling to go with the season. This was my first gingerbread filling, and I was excited for the new challenge. I did some research, and found this recipe from Martha Stewart that I used as my base. 


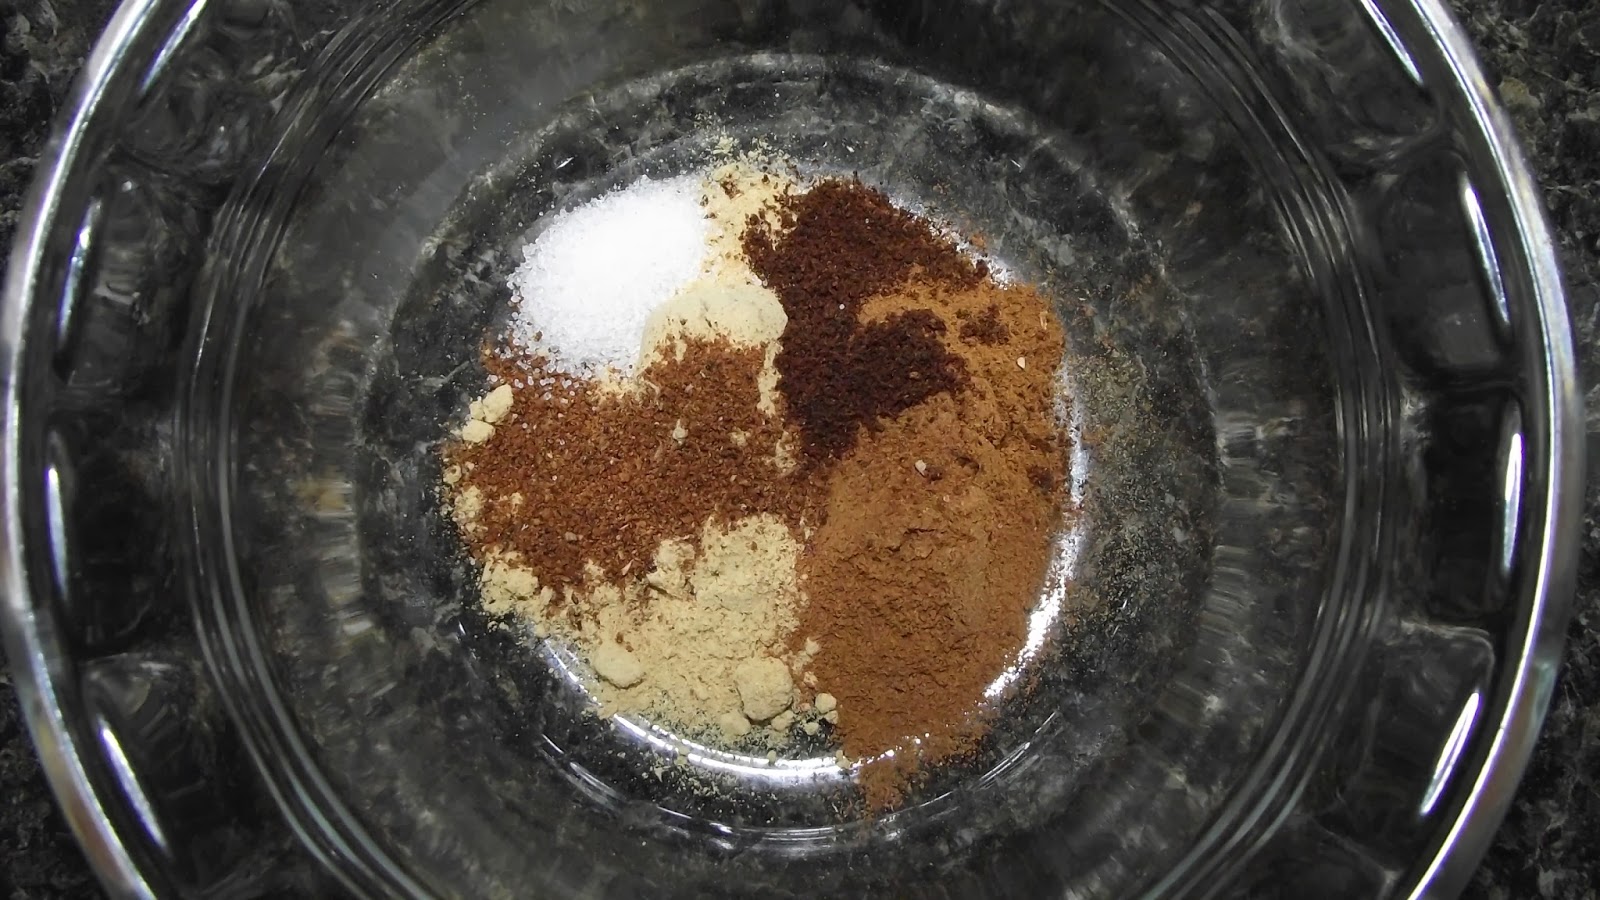
Spice mixture: ginger, cinnamon, allspice, nutmeg, cloves, and salt.
Making the simple syrup for the buttercream with brown sugar for that molasses flavor that gives gingerbread its deep flavor.
I did a small test round and found that the flavor wasn't overly strong, and I knew it needed to pack a punch to stand up to the cake and regular buttercream frosting. I upped the nutmeg and the ginger, being careful to keep a balance without overwhelming and the final product had great gingerbread flavor that had a somewhat eggnog-like finish. I was pleased, as that was still in the "holiday" realm we were going for. 

It was your standard cake, but they didn't have a cake topper, which has me thinking that for people who don't have a cake topper, I could make a 3-inch tier that could also serve as their tier for their 1st anniversary. But that will come with the next cake. I keep learning something every time I make one. And my goal for this year is to make 6, so help spread the word!

I took pictures of all of the steps, but totally forgot to take a picture of the finished product. Below are all the "prep steps" as I often share pictures of the cake and frosting making, but never the other parts that go into making the cake. I often get asked how much time it takes to make a cake, and I've got it down to about 24 hours total. Some of that is "inactive" time while waiting for the cakes to bake, but most of it is in the kitchen, stirring, measuring, watching, and frosting. And getting pans ready.
Cake boards and cake boxes make the moving, freezing, assembling, and transporting so much easier. I don't think I could do a cake without a board.

Prepping pans: start with clean dry pans.

Then butter, and flour. I always use the same cake flour that I bake with.

Finally, line with parchment paper. I think they sell pre-cut parchment rounds, but I just cut my own every time.

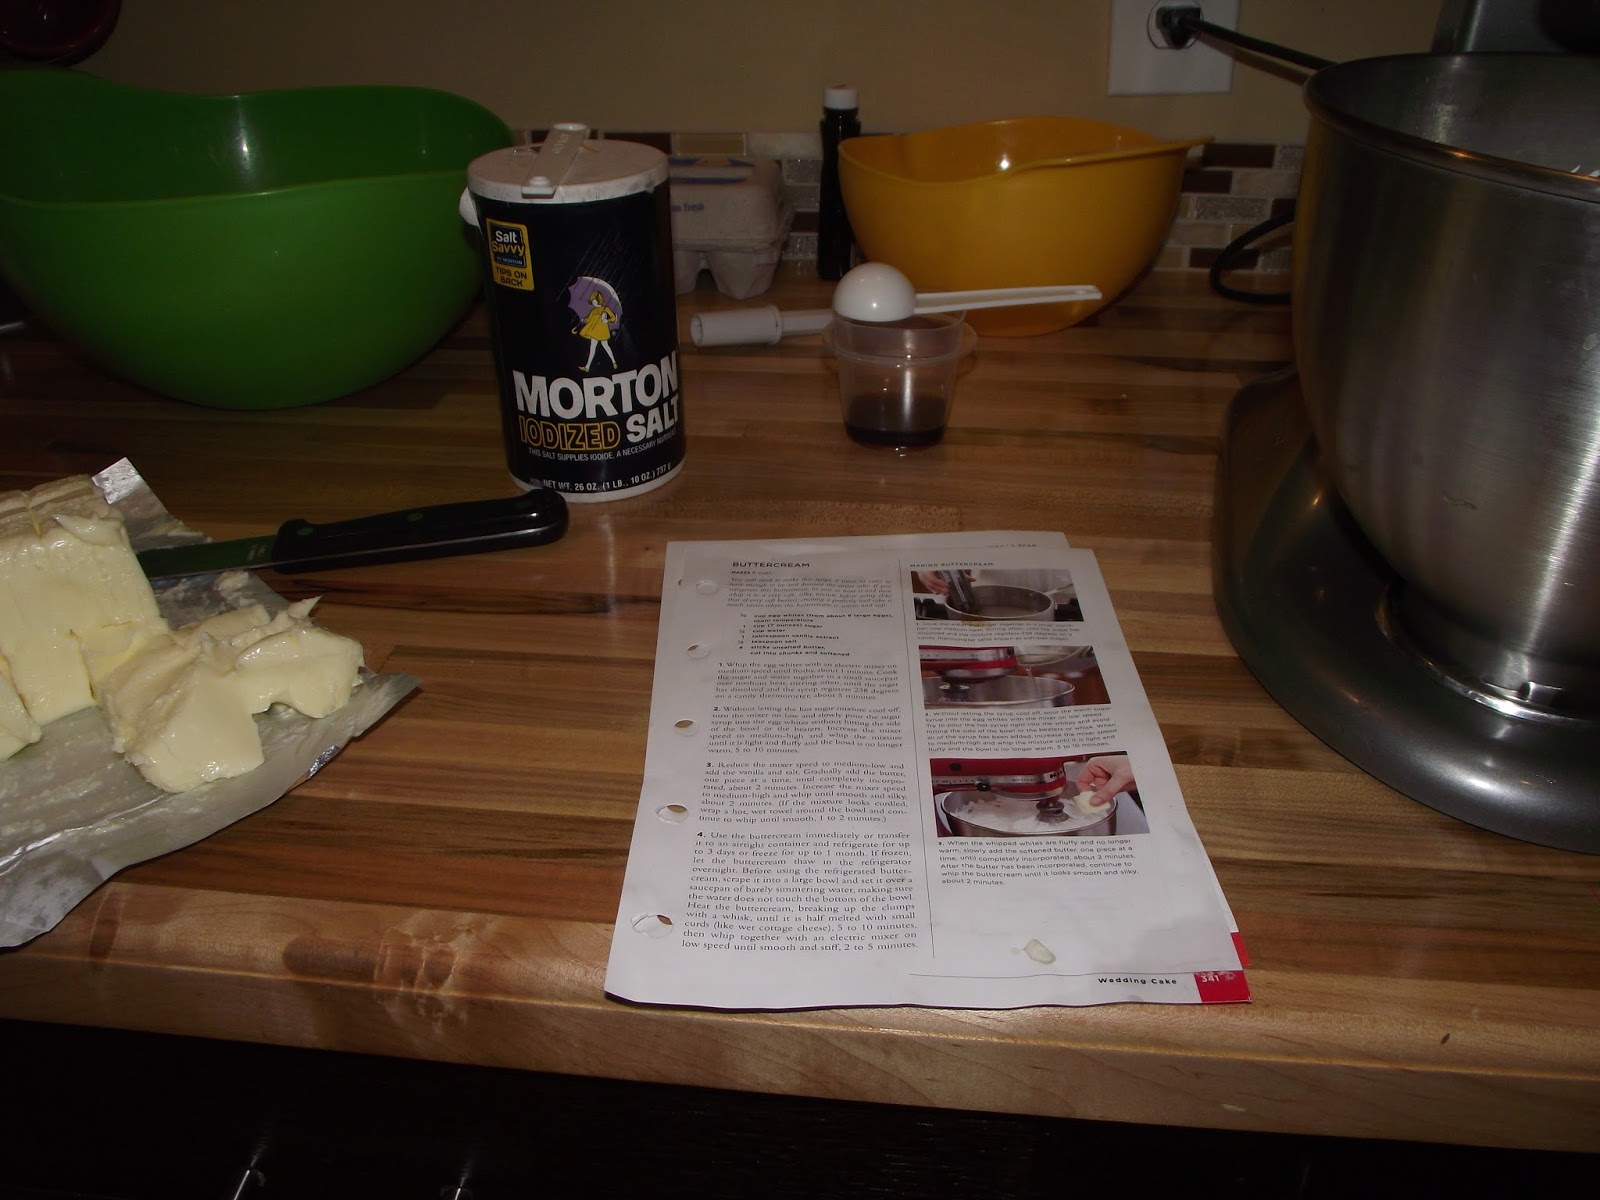
Butter, butter, butter. A 3-tier wedding cake uses 5.25 pounds of butter, and that doesn't include the filling.


Friday, July 5, 2013

Wible-Storey Wedding Cake

Approximately a year ago as I was making my own wedding cake, my friend Heather came to help me out a few days early with all those fun little wedding details that need to be done. And the whole time she talked about this great guy, Evan, and I knew something was definitely happening there. So, here we are, a year later, and I was honored to go to Cleveland to make their wedding cake.

There were a few challenges with this one that were new, and there were a few moments when I was terrified that it wasn't going to work out. But I showed that cake who was boss.


First, I mailed all of my baking supplies to Heather's house in Cleveland so they'd be waiting for me when I arrived. She was kind enough to buy me all the ingredients I'd need to make cake for 150 people, which included 5 dozen eggs and 8 pounds of butter. (People kept walking through the kitchen, marveling at the amount of butter that was on the counter. In the end, I only had a stick and a half left.) Heather was kind enough to pull every bowl, measuring cup, spoon, and spatula she had for my use. Her wonderful gas oven was at my disposal, and once I had some extra coffee in me, I got to working.

I started with a lemon curd and a raspberry filling for their cake. I'd never done either of these before, but they came out well, or so I felt on that Wednesday afternoon. I then went to buttercream mode, and made 4 batches of the buttercream, equalling about 25 cups of buttercream. That was a lovely sight to behold.
I can't ever pass up the chance to take a picture of beautiful buttercream.
Around 5 or 6 pm on Wednesday before the Saturday wedding, I started on the cake itself. My first batch did not look like it was supposed to, and the fact that I was in a strange kitchen, had been up since 5 am, and had flown on a plane started to get to me. My first worries about this cake cropped up, but I realized my butter was over soft from the too-warm kitchen, so I stuck everything in the fridge to keep it from all out melting. I made one more round of cake and called it quits for the night.

The next day, I got to it and finished making cake for the display cake and made a rectangular cake to serve when the display cake ran out. I started to assemble and my first group of cake with filling slid everywhere. I immediately stuck it in the freezer (allowed) and told Heather that I apologized in advance for the fact that I was anxious about her cake and wasn't sure it was going to work out. The other tiers slid a little as well, and I'm not sure if it's because the cake was incredibly fresh (usually I've made it two weeks in advance and kept it in the freezer), the filling was too soft, or what, but by Thursday evening, I was very worried. I held off on frosting for Friday and would do assembly on Saturday before the 2pm wedding.


On Friday, I moved the whole thing to the wedding site, which was in a lovely house where the family was incredibly kind and let me get buttercream all over their kitchen. (I did clean it up). They also let me take over an extra fridge in their garage to store the cake, and after Friday's frosting, I started to feel much better about how things were going to come out. Heather and I planned to do sugared raspberries and lemons as decoration, and two of the bridesmaids, Chiara and Allison (thanks, ladies!), helped me out with that on Saturday.

Come Saturday, I assembled, thankful that the cake had sorted itself out and stayed upright. The cold helped it. I decorated it, enjoyed a lovely wedding and, then served it up. I've never actually cut a cake to serve before, and it was a little sad to tear apart my creation. But it was worth every bite.

And thanks to Jennifer Van Elk for these fantastic photos of the cake and Heather and Evan enjoying it! Congrats Heather and Evan!


Monday, September 17, 2012

Baking business underway (sort of)

Wedding cake number two is well underway done! After one weekend spent baking my little heart out and another spent making copious amounts of buttercream (each batch is tested for safety and taste), I am 2/3 of the way into done with my second (or third if you count the practice cake) wedding cake. I'm very grateful to friends Jake and Alicia for this opportunity!

As they are having a wedding about twice the size of mine, I've gotten creative with how to make sure there is enough cake to feed that many people. The solution, one large traditional cake, and two smaller nine inch cakes to echo the main cake and still look lovely. Creative thinking, for the win. My freezer is full of cake, and if this gets any more serious, I'm going to invest in a small chest freezer, as we don't have the space for this kind of excessive baking.

Because I am apparently a glutton for punishment, on top of cakes, I've been working on breads. This weekend, I made baguettes, which I am incredibly proud of. They're lovely to look at, quite tender, and while the crust isn't as dark as I'd like it to be, it has the right amount of chewiness. I'm very proud of these loaves.

I keep getting asked, when I mention that I'm making a wedding cake, if it is a side business. I answer, "sort of." It could be, and I definitely would love to have opportunities continue to develop. So, friends, if you, or someone you know, lives in the DC area and needs a wedding or special occasion cake, send them my way!

Update: The cake was very popular and well-recieved. Someone even asked me my secret and a I laughed as I told her that it was all the America's Test Kitchen Baking Book. I'm also looking at a few websites (Smitten Kitchen mainly) for inspiration for other types of cakes. I'm willing to branch into chocolate, and I'd love to see how cupcakes work out as a wedding cake.

And I apologize that I don't have any pictures. I can't bake, assemble, and frost while thinking about taking photos. But, if you've seen my wedding cake. you get the idea.

Monday, January 23, 2012

Cake Trial: Part 2


This weekend was frosting and filling weekend. The cakes hung out in the freezer all week, and I worried that I was not up to the task of actually putting them all together every time I got ice or frozen corn. But I persevered and on Saturday morning set out a dozen eggs and two (2!) pounds of butter to come to room temperature. By that evening, I was freshly napped and ready to tackle butter cream.

But before I could frost the cake, I needed to put the filling between the layers. This is where I encountered my first hiccup. The filling (which I made a few hours earlier), hadn't set up properly. The chocolate hadn't melted completely and was grainy. It sunk to the bottom, leaving me with a bowl of heavy cream with grainy, goopy chocolate. I was unhappy. Halfway into batch one of buttercream, I was unsure what to do.

Chocolate and heavy cream are too expensive to just toss away, so I put a metal bowl over a pot with about an inch of water in it to create a double boiler, put the filling mixture in it and whisked away. (This is where I begin my rant against microwaves. If you love your microwave, skip to the next paragraph.) My personal feeling about why the filling failed me the first time around was because the instructions tell you to melt the heavy cream and chocolate together in the microwave. My cream was at room temp, and I added my chocolate, then microwaved for the required 2-3 minutes. This did not work. I know that people are all for melting chocolate in the microwave because it's easier than doing it in a double boiler. But I think that microwaves ruin the texture of all foods, including chocolate, don't heat evenly, and I can't keep an eye on it in the way I want to while it's in the microwave. Plus, using a double boiler isn't that tough, and it makes me feel like a fancy cook. The filling, after being reconstituted in the method of my choosing, was much smoother, and looked much more even. However, I was now set back an extra day since it was 7 pm and the filling needs to chill for at least 4 hours.

With the filling back in the fridge, I turned out two batches of buttercream, put them in the fridge, and with an aching back, went to bed.

I woke up at 8 am on Sunday, fully intending to go to church, but unable to get the cake out of my mind. I wanted it finished. I wanted to check on my filling. I wanted to use my icing spatulas. I pulled out the filling and was thrilled to see that it set up properly! I whipped it up, pulled out my buttercream, warmed it, whipped it, and was ready to go. I had the cake assembled and frosted by 10 am. (I'm not a morning person--this in and of itself is a feat.) (Also, I did this without coffee.)

This is where I implore you to read and follow all directions. In my excitement to assemble the cake, I failed to follow directions properly. I put my bottom tier together, frosted it, and then rushed to put my second tier on top of it. As I did, I realized that I was supposed to frost all the tiers before assembling, and I was supposed to leave the cake tiers on their little cardboard cake rounds for structural purposes. (This is why we do a practice cake.) I still managed to get the middle tier frosted, though not as prettily as I would have liked. I followed directions with the top tier, and put the whole thing together. Then I, like a child on Christmas day playing with her toys, pulled out my brand-spanking-new pastry bag and started to pipe pearl borders. The result is what you see above.

I'm pretty damn proud of this cake. This is probably the biggest baking undertaking I've ever done in my life. (Aside from my intense Christmas cookie annual baking where I bake 3-4 types of cookies as gifts.) Greg has pronounced it incredibly good, with the filling being his favorite part. (Yay!) Now that I know how long all of this will take me, I feel pretty confident that I'll be able to do it come wedding week. Also, I'm really lucky that a huge number of people in my life are helping with the other wedding details so I can focus on the cake. (And getting married to an amazing guy.) Really, the timing is what is most important with this. I have a timeline written out so I can tackle this project and have an amazing wedding cake.

If all else fails, I'll buy a sheet cake at Giant.

Tuesday, January 17, 2012

Cake Trial: Part 1


I baked cakes yesterday in the start of my practice run for my wedding cake. I didn't make the full three rounds of batter like I will for the "real" thing, I just made two rounds. This means that I will have three tiers with two layers each. (Above: 9-inch and 12-inch layers.)

Here's what I learned:
- It's not that hard to make a cake batter. (I already knew this.)
- It's not hard to bake the cake off, although I did need to adjust baking time for my oven. (This is why I'm making a practice cake.)
- Prep work takes the most time. (Eggs, butter, and milk take several hours to come to room temperature.)
- Making a cake this large uses more eggs and butter than anything else I've ever made in my life.
- Greasing, flouring, and cutting parchment paper for my pans took as much time as making the batter.
- I need bigger cooling racks. The 6-inch layer ended up cooling in a flat-bottomed colander because I didn't have enough cooling rack space. It still worked.
- Wrapping the cakes in plastic wrap for freezing takes almost as much time as prepping the pans.


The instructions in the book (America's Test Kitchen Baking Book) and the blog I read for help both said that time is the biggest factor. I do like that I can do this in stages, so when the actual time comes, I can be comfortable making the cakes a few weeks in advance. I ended up dragging a chair into the kitchen to sit in front of the oven while I read my book and kept an eye on the cakes. I've never been much of a cake baby-sitter, but this is important. After the first batch came out, I was more comfortable with the baking time and just letting it go on it's own. (With a timer.)

I am very excited to have all these new baking supplies. Where have offset spatulas been all my life? I finally have a pastry bag with different tips for frosting, which I look forward to breaking out. I never felt stressed when making this cake. I think knowing that it could fail and that was okay made it a much better situation for me. We'll see if this feeling continues throughout the process. I do like my start though!

Next weekend, filling and frosting.