Monday, July 1, 2013

Rosemary Focaccia

A couple of things came together for me to make this tasty, buttery (olive oily?) airy bread (about a month ago because I've been bad about updating, apologies!) --

First, a co-worker gave me some beautiful fresh rosemary from her garden, and I wanted to use it not just in an herb rub on a meat (my usual go-to for fresh herbs), but in a way to bring out that earthy, piney, fresh flavor.

Second, I wanted to make popovers on Saturday, but didn't have any milk because I'd not yet gone to the store.

So, I flipped through my America's Test Kitchen Baking Book (what else would I use?) and settled on focaccia since I'd never made it before. I did end up having to wait until I got back from the store to make this, since there is a potato (yes, a potato) in this recipe and we don't keep potatoes around. Garlic and onions, of course, but no potatoes.

That's the shredded potato in the measuring cup on the bottom right.
I do think it's weird that there is a potato in this recipe. I think that next time I try this, I'll use a recipe from someone with a slighly more Italian background than ATK. Their reason for the potato is a more tender crumb, which this bread has, but I think that if they had you mix by hand rather than in a stand mixer, you wouldn't need to worry as much about this problem.

And now it's time for Gloria's Crackpot Cooking Feelings: I don't think you should use the stand mixer to make breads. Yes, the mixer comes with a dough hook, and maybe if you're making a bread with a very wet dough, it is easier to handle, but the times that I've made dough in the stand mixer, the final product comes out too tough. I think if you're new to bread, then sure, go for it, but it is so much better if you get a feel for dough, and what a dough that has been perfectly kneaded looks and feels like. Plus, I heard this lady on a podcast, and she's firmly in the "by hand" camp.

Back to the bread.
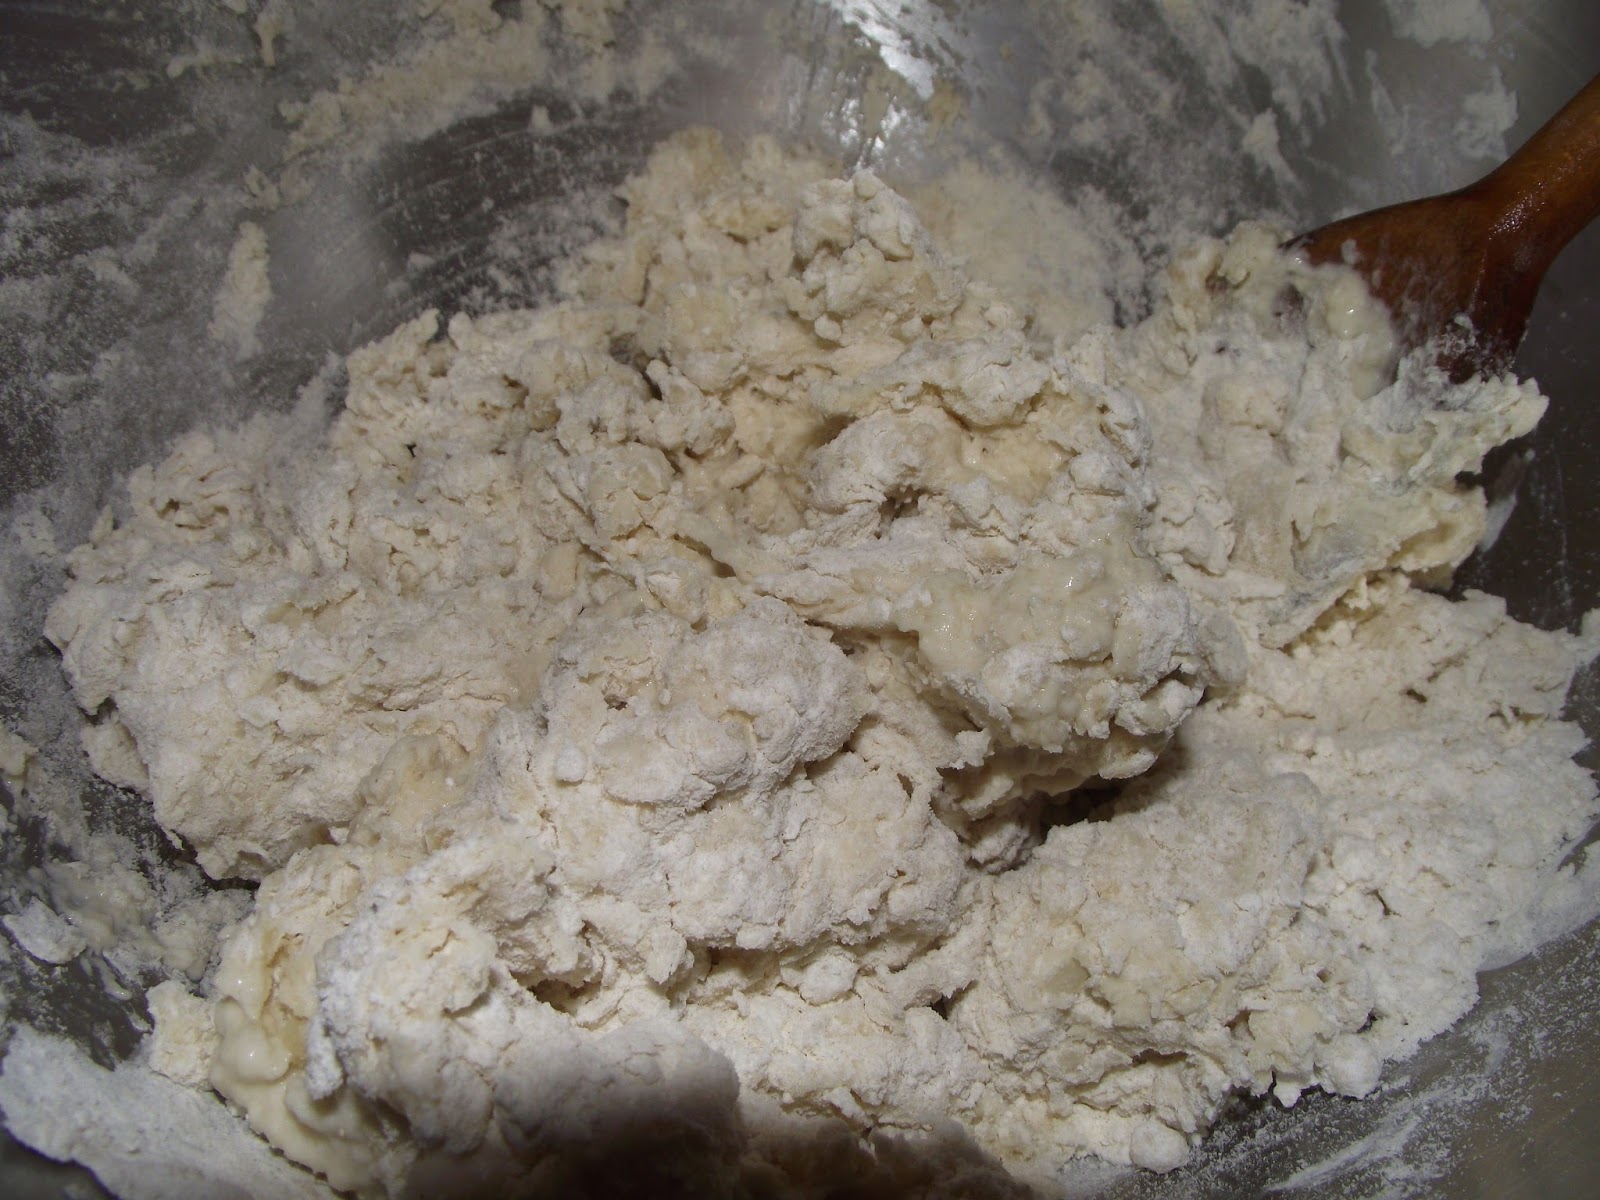

It's just flour, yeast, the potato water from the boiled potato, 1 cup of the boiled potato grated, salt, and olive oil. It's a pretty easy dough and it comes together quickly. Just a few quick kneads, and it was in the bowl resting.

After about an hour, the dough was ready to go and be spread in the baking sheet. More olive oil and then I gently pressed the dough out. It went pretty easily to the corners, but I did give it a few minutes to rest to really get it all the way to the edges.

An hour and a half later it was risen to size and I got to do the fun part of digging my fingers into it. The book doesn't tell you to get rough with it, but Anne Burrell on her show said that you can be pretty tough with this bread. I really dug in there, and the holes will come together if you happen to get to the  the bottom of the pan. Then I sprinkled the fresh rosemary all over and popped it in the oven.
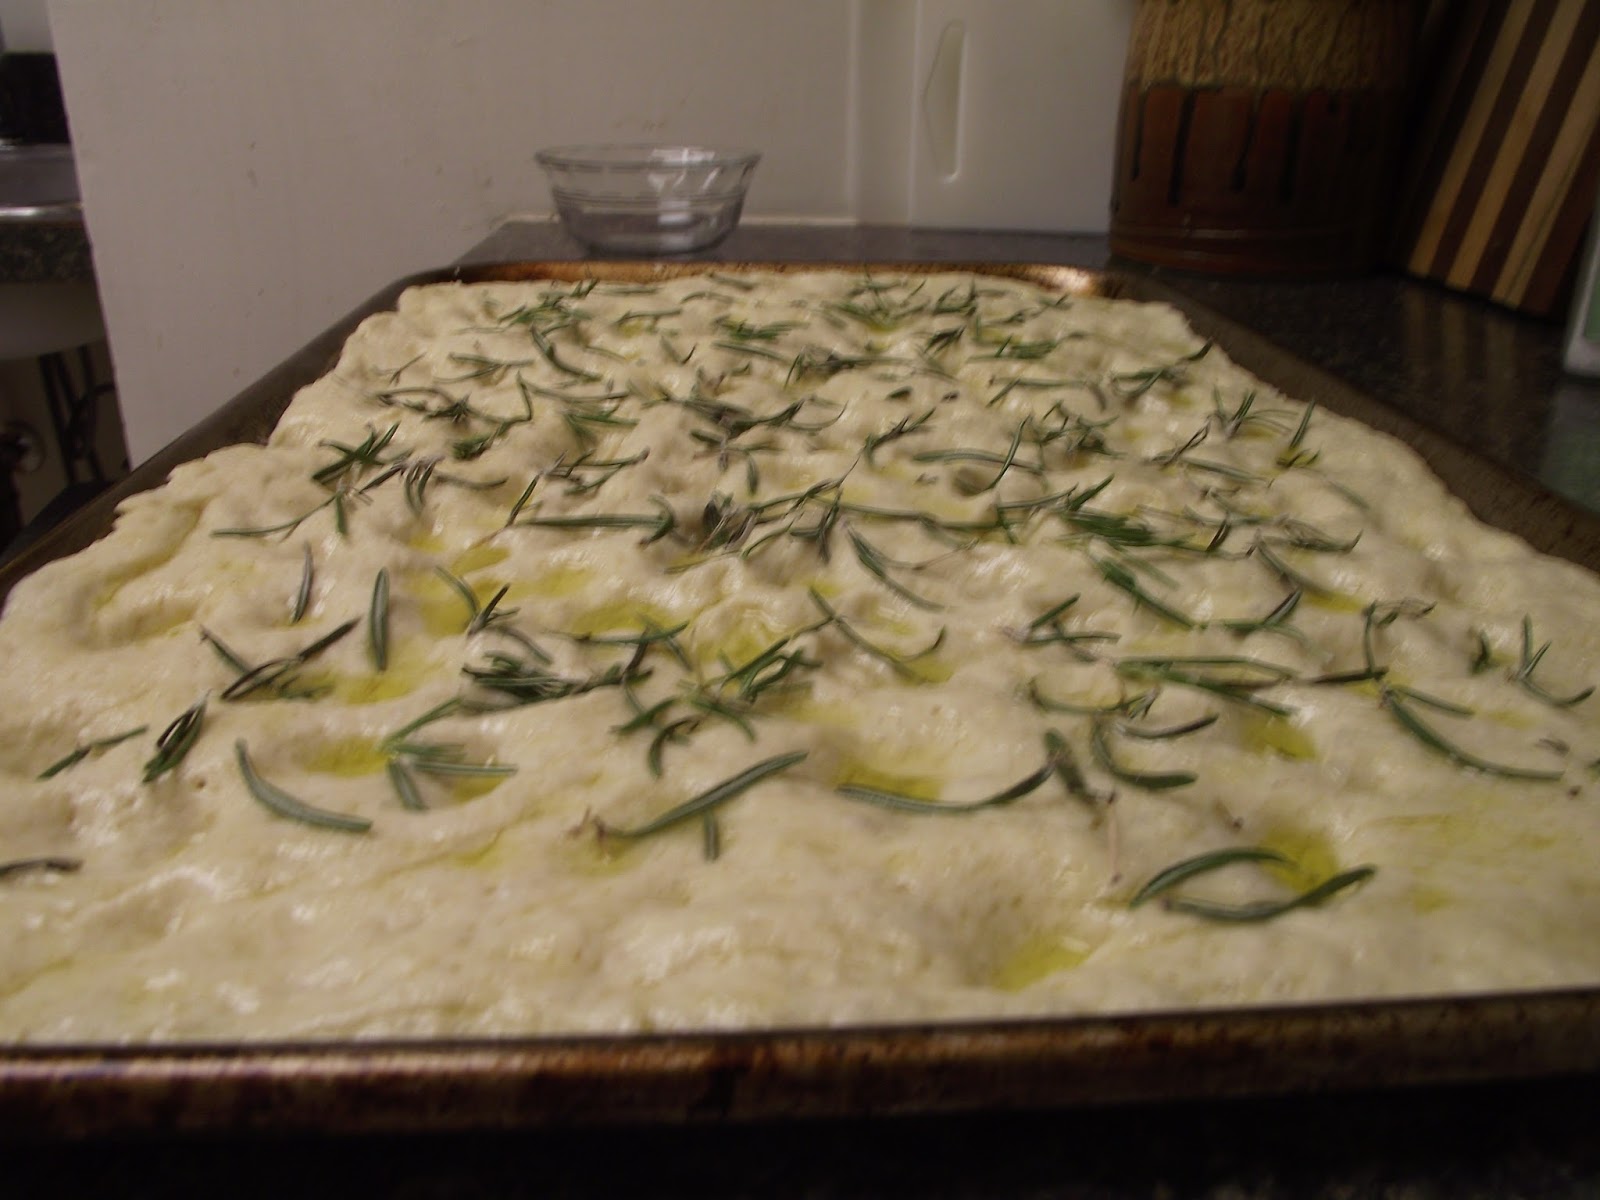


Twenty minutes later, I had crispy, beautiful focaccia. I had to wait 10 minutes before I sprinkled it with sea salt and could dig in. It was definitely tender, flavorful, and amazing. I've been oversalting my food lately, so I held back on the salt, but I would say next time that I could really go for it. And I will definitely try a more traditional recipe next time. Nevertheless, this was worth it and I will make it again.

Sunday, May 12, 2013

Wedding Cake Step-By-Step (Part Two)

Part One Here

The filling for this cake was an almond buttercream. The buttercream filling is different from the frosting in that it's not a Swiss (or meringue) buttercream, but a traditional one that uses yolks. I struggle a little bit with this one, because I feel like the yolks don't do quite as well as the whites. But I made a devil's food cake with this frosting for practice, and I think I got it pretty well.

I roasted almonds, ground them in the food processor, and then folded them into the buttercream. Then I chilled it to help it set up for spreading on the cakes.

I then defrosted the cake layers and the buttercream for the frosting and got to work. I follow the Test Kitchen procedure pretty exactly. I start with the largest layers and work my way up. If any of the layers look like they're uneven on top, I gently saw them off with a serrated knife. I only had to do this with one, as I do my best to even the batter before putting them in the oven.

Then I place the tiers on cake boards, wrap with Saran Wrap,* and put them in the freezer to set up for a few hours. After they've set up, I re-heat and whip the buttercream frosting and begin frosting the tiers separately.


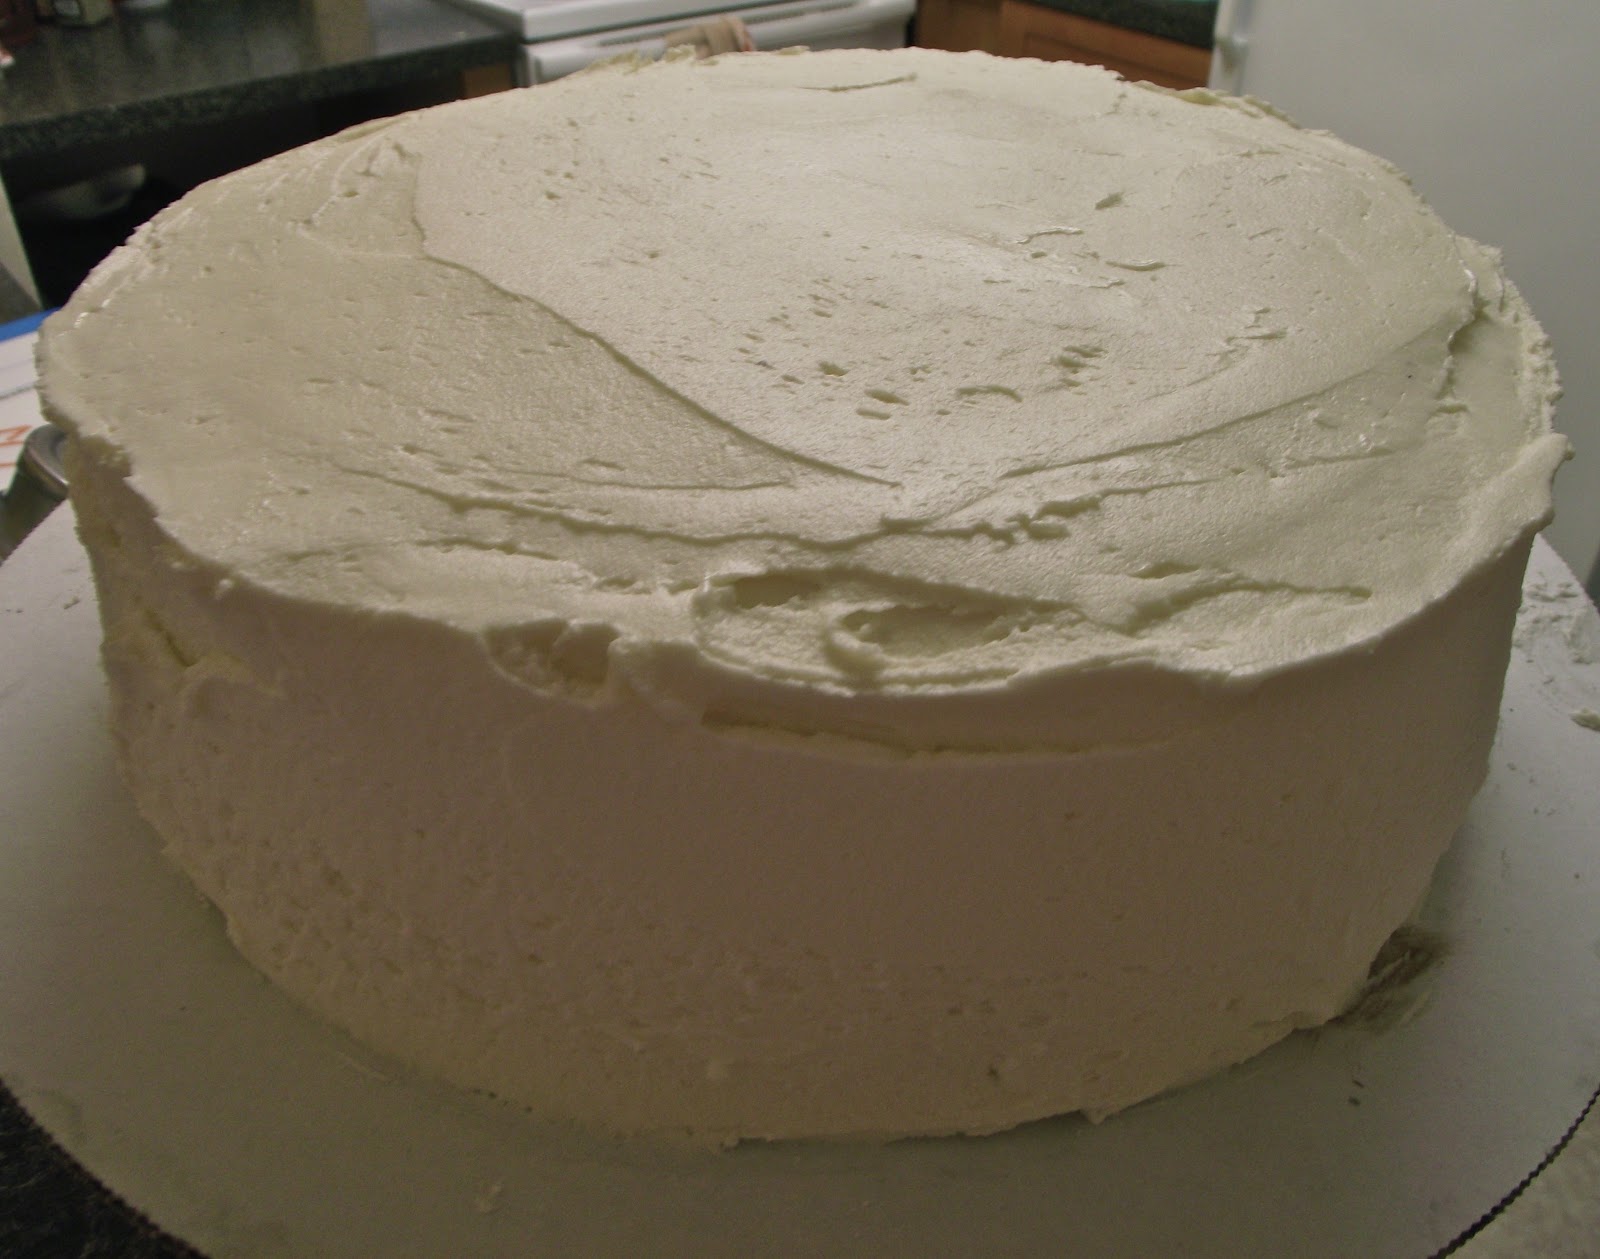
This wedding cake was to have what we dubbed the "messy" frosting, somewhat like the picture below. I searched the internet for directions or similar examples, and didn't find any, so I went with my best guess of what I thought it could be.

I always do a "crumb layer" of frosting first. This is a thin layer of frosting that catches any extra crumbs coming off the cake, to keep it from marring the thicker layer of frosting. After the crumb layer, I put the cake in the refrigerator to set while I move on to the next tier. Then I frost each tier fully, going for the final look. I reserve some frosting for touch ups and piping for cake set up.


I usually do all of this the day before the wedding, to let everything set up in the refrigerator, and to give me time if I need to fix anything. I then transport the cake in its separate tiers to prevent any potential damage. I put it all together on site. Then I pipe in frosting, in this case, added texture to mimic the example photo, to cover the cake boards between layers. (Many thanks to my sister in law, Liz, for being my photographer for this set-up!)


I spent a lot of time making sure that the layers were even and that the best side was presented to the front. I usually end up marking the "back" on each tier as I am frosting them, as there is always one side that looks a little worse than the other. I try to line the "bad" sides up so they all face the back and the front is perfect.


Once every thing is together, I touch up any spots that look rough, pipe frosting in to holes, put it on the display stand, and then add the cake topper. And it's ready to go! After about 15 hours of work, it's done!

*Side note and endorsement of Saran Wrap: I love Saran Wrap. It is manufactured by S.C. Johnson, A Family Company. I am a lifetime loyal customer of theirs for 2 reasons: 1- They sponsored OBJECTS: USA, the exhibition I wrote my graduate thesis about. When I contacted their archive for information on the exhibition, their archivist sent me more than I asked for, as well as samples of their products. I was sold. 2- Saran Wrap is way better than Glad Cling Wrap as Cling Wrap clings to nothing but itself.

Saturday, April 27, 2013

Wedding Cake Step-By-Step (Part One)

I tried to remember to take pictures this time as I went through making this wedding cake. As this is cake number 3.5, I'm feeling much more comfortable with the recipe, the process and how to manage my time (and freezer space!) for the best outcome. I've also done a few birthday cakes in the interim, and am figuring out my time management better each time.

I do follow the recommendations for the timeline that America's Test Kitchen gives in their book. I also follow the recipe exactly, because (as they often remind you in the book) baking is chemistry. I also would like to get a few more wedding cakes under my belt before messing with someone else's wedding cake.

One Month before the wedding: Buttercream Frosting
It freezes well, and I find it to be the quickest step, if you can count 3 to 4 hours as quick. It also uses an obscene amount of butter and eggs. That is an egg separator on the measuring cup, it came with my measuring cups and I like it best when the eggs are cold. When eggs are room temperature, I actually like to just use my hands.


I start by creating a simple syrup of sugar and water:

Then, I pour the syrup into egg whites and whip into a lovely meringue:
Then I add vanilla, salt, and butter, piece by piece. The process of adding the butter goes quickly, and I don't have the hands to photograph and add butter. After it all comes together, I put it in a freezer-safe container, cover it with a layer of Saran Wrap, put a lid on it, and then stick it in the freezer to hang out.

Two weeks before the wedding: Cake
Cake takes the longest of any part of the process because there is a lot of down time while the cake bakes. I definitely spend a whole day mixing, baking, and cleaning pans and bowls. For whatever reason, I totally failed to take pictures of any of the mixing process, baking, or cooling. I only have this one photo of the batter in the mixer. This is probably because this is the one moment where I feel like my hands are free to actually take a second to capture a photo. But, it's a basic yellow cake recipe. Cake flour, milk, eggs, butter, sugar, vanilla, salt, and baking powder. It's kind of amazing, really, that so few ingredients make an amazing cake.
The cakes then cool, get put on cake boards, and wrapped in Saran Wrap and put in the freezer. There are moments where I think I'm single-handedly keeping Saran Wrap in business. This is where spatial reasoning and creativity are very important. Because finding room for 15 cups of buttercream, plus 9 cake layers of varying sizes in a small apartment freezer takes some talent. But I manage to make it work!

In Part Two: Filling and Assembly.

Wednesday, March 13, 2013

French Silk Pie

If you ask me what pie I recommend you get, this is it. It's an over-the-top, amazing pie that is full of rich chocolate flavor. My first memories of this pie was a Mrs. Smith's frozen French Silk pie that my parents would get for themselves and keep in the freezer--away from us kids. I didn't understand why we couldn't have this pie that looked so pretty and so chocolatey. I might or might not have tried to sneak a taste or two along the way.

I put those memories away for years until I was reading Pioneer Woman and came across her recipe. I remembered the forbidden pie and whipped (literally) one up. I've never been one to worry about raw eggs, and this pie proves that you have nothing to lose with 4 raw eggs.


If you keep pie crusts on hand, once one is baked, this pie comes together in about 20 minutes. And I always keep unsweetened chocolate close by, just in case I have a pie emergency where I need to throw one of these together quickly. If you don't even want to worry with a pastry pie crust, apparently the traditional version of the pie uses a graham cracker crust, and that's a super easy one. I'm still working on getting my blind-baked crusts to not shrink as much. I've tried a number of tricks, but they're still sliding down a little too much for my taste.


I don't tweak anything about the recipe above, but I don't add the whipped cream or chocolate shavings. I honestly don't think this pie needs anything except maybe a glass of milk or a cup of coffee.


Saturday, March 9, 2013

Red Velvet Cake

Is it March already? Where did the time go? It just seems like I was making chiffon cakes, and here is it almost a month later.

For Greg's birthday (last month), he requested Red Velvet Cake with a chocolate filling. I'd never baked a red velvet cake before, mainly because I find the flavor weird. I like it as a vector for cream cheese frosting though, and who am I to say no to a birthday request?


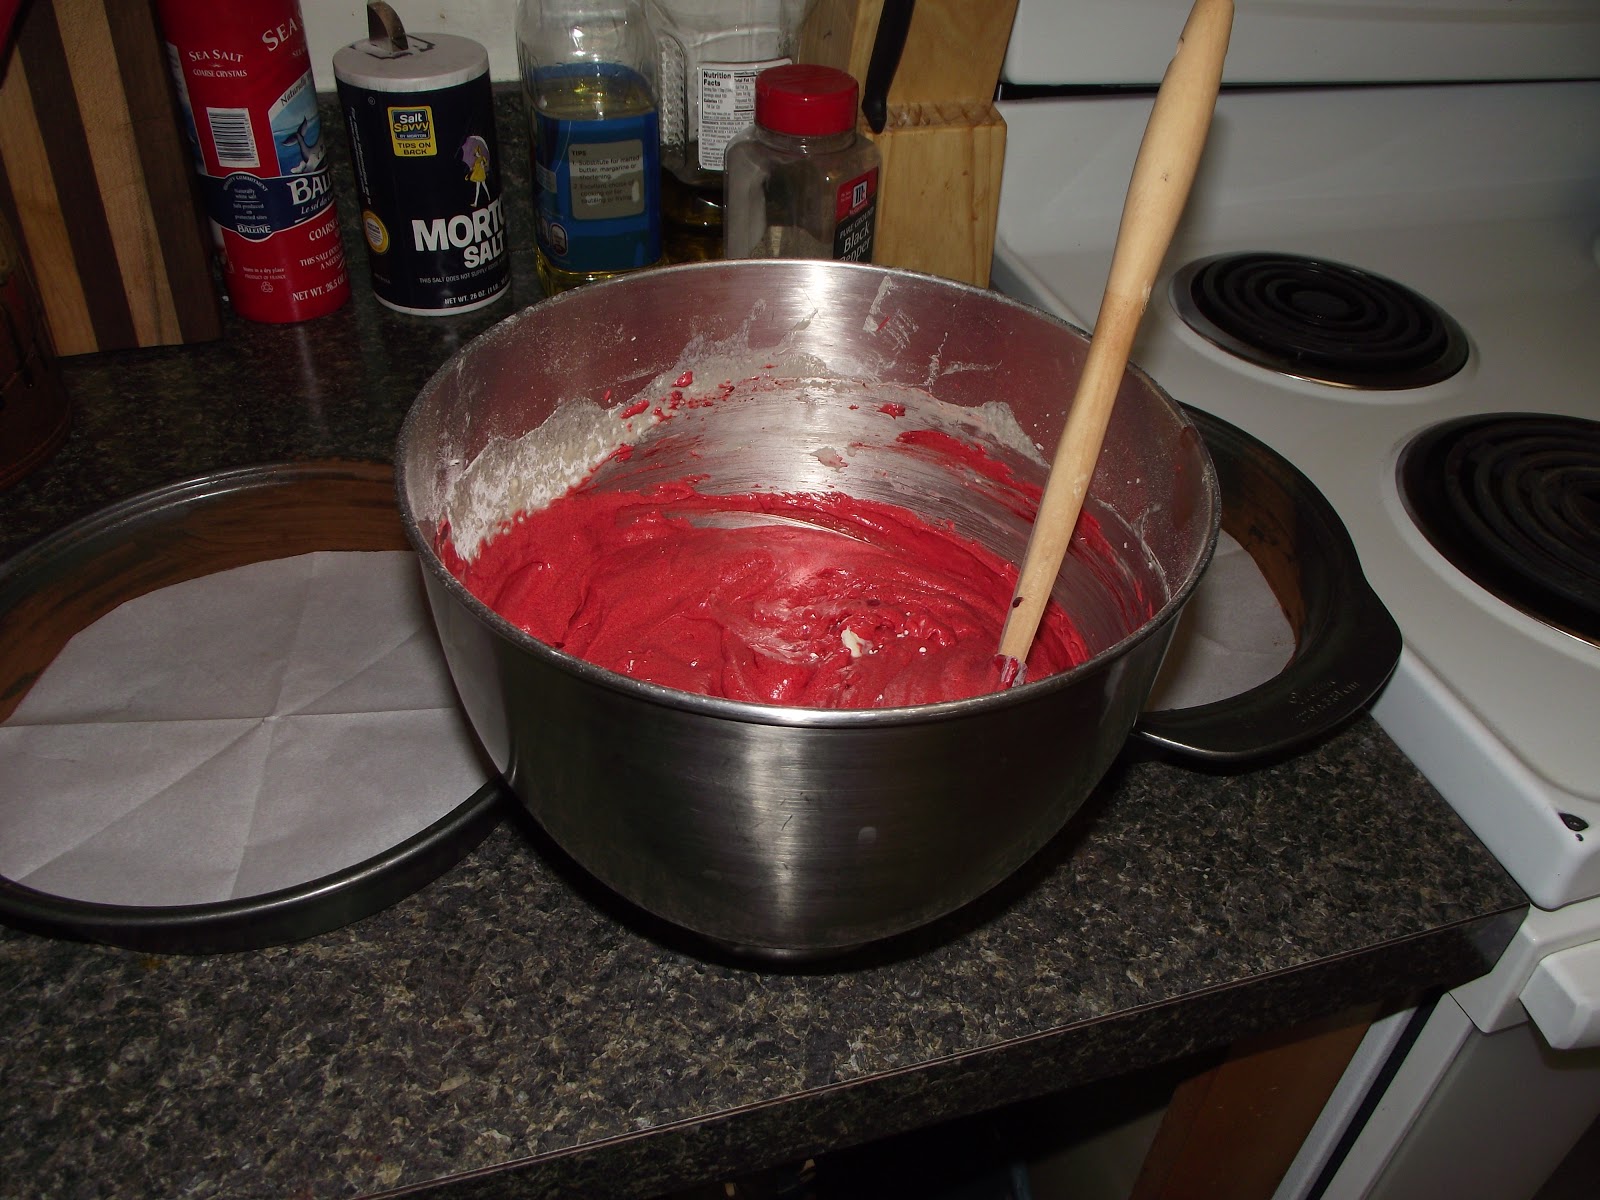
For the cake, I stuck with my trust America's Test Kitchen Family Baking book, because it has yet to lead me astray. I used the traditional Red Velvet Cake recipe, Cream Cheese frosting, and the chocolate filling recipe that I used for wedding cakes. I do like that in their recipe, they have you mix the food coloring and the cocoa together into a paste before adding it to the rest of the batter. I think that helps with even mixing, and keeps the food coloring contained better than just splashing it in.


It came out quite well. Not really anything I would change on this one. Except to next time remember to whip the filling in the stand mixer so it's stiffer than when I just whisk by hand. I also like the frosting practice this cake gave me with my spatulas and cake turntable. I feel like I need to get more practice in, but pies always seem to be a more popular order. Maybe I'll work on frosted pies...


Saturday, February 9, 2013

Chiffon Cake

I think I'm a struggling food blogger because I am not good at taking pictures while I'm mid-process and then I just dig in before I think to take a picture. But, I was good when I made chiffon cakes last week for an order, and she helped me out by snapping a shot of the cake just before it was "devoured," as she said.

I'd never made a chiffon cake before, but the order was to be used at a '50s-themed baby shower, so I did some research and angel food cake and chiffon cakes were popular during that time. The cake gets most of it's lift from whipping egg whites to stiff peaks, and then carefully folding the rest of the batter in. It's actually a pretty easy cake to make, and the folding takes the most time.

You also need a special pan, and I got one with feet. The cake needs to cool upside down to keep from collapsing itself. This part seems weird to me, but it works!


I also made a strawberry sauce to go over the cake because, like its cousin angel food cake, chiffon cake is not an overly strong flavor. I just boiled down fresh strawberries, sugar, and water. I then strained the pulp out to make a smooth sauce.

And it was a hit! And now that I have the special pan, I'm pretty sure I'll be making more angel food cakes and chiffon cakes come fresh strawberry season!


I do love the way a golden brown cake looks!
Recipe for both chiffon cake and strawberry sauce come from the America's Test Kitchen Family Baking Book. The only alteration I made was using more strawberries an less sugar in the sauce.

Coming later this week: Red Velvet Cake and French Silk pie.

Friday, November 30, 2012

Glowing Evenings Bake Shop - Now Open

After successfully baking a small batch of pies for Thanksgiving, I'm opening the metaphorical doors to Glowing Evenings Bake Shop. Get your pie, cake, and cookie needs taken care of here!


Currently, pies seem to be the most popular order, as nothing says "the holidays" like a warm, flaky piece of pie. Pie prices are based on type of pie and seasonal fruit availability:

Pumpkin, pecan, and other custard-based pies: $28
French Silk (aka, the world's most amazing chocolate pie), lemon meringue, key lime: $28
Apple: $30


NY Style Cheesecake: $45
Chocolate Chunk Cheesecake: $50

Decorated Festive Sugar Cookies: $25/bakers dozen
Undecorated Sugar Cookies: $15/bakers dozen

Special requests are accepted.

This double-cust apple pie has a ridiculous number of apples in it. 
Happy Holidays and enjoy some baked goods!

To order: email me at gloevedun (at) gmail (dot) com or Facebook me, or Twitter (@gloriaevonne) me.