Saturday, September 28, 2013

CROISSANTS!

Whenever I think of the word "croissant" I think of Chris Kimball on America's Test Kitchen saying the word in a very affected French accent that we might or might not have made fun of. I say it the American way, pronouncing the "r" and the "t". It doesn't really matter how you pronounce it, as long as you're thinking of the buttery, flaky, amazing pastry that will change your life. When I had some time off between job in July, I decided to tackle these because the recipe takes a few days. I divided up the dough and made half in a normal crescent shape and the other half into chocolate croissants (pain au chocolate), which is clearly the better of the two. I took tons of pictures, so this will be a very visual blog.
Mixing by hand, with my hard plastic spatula that I got with my food processor. I've found it to be the best for dough.

Add a little flour to combat the humidity.
Slightly sticky, perfect dough.

Three beautiful sticks of butter. Is there anything better? 
The butter needed to be pounded out to an 8 inch square. I just use my tape measure from my tool box. It's covered in flour and at this point, probably has never measured anything related to hardware or repairs.

Adding the butter to the dough. The key here is to make sure we end up with flaky layers at the end.

A butter-dough envelope. I really could eat this without baking. 
Wrapped and ready for the fridge for a long overnight rest.

This is my workspace. I have a slightly bigger counter next to the sink, but I like this one better for some reason. (And that's a Whynot utensil holder!)

The rested, ready to go dough. Before it got to this point, I would take it out of the fridge, roll it out, and fold it back up like an envelope to create layers of butter and dough. Can you see those chunks of butter? That means flaky pastry!

The dough cut up for shaping. The left will be chocolate and the right will be regular.

Shaped and ready for rising in the fridge!

Dark chocolate and dough. I love dough. It's the best.

Chocolate croissants, ready to rise. (Sorry this picture is a tad blurry.)

Two sides of the same coin, ready to rest and rise. After this, they went into the fridge overnight. Just like the song says, the waiting is the hardest part. I kept checking in, anxious for them to rise. 

And when they were done rising, I brushed them with egg wash and popped them in the oven. And they came out like this!

Golden, beautiful, soft....

And oh-so-flaky. Mmmmmmmm.
I will definitely make these again. They were worth the waiting and the work. Should the government shutdown, this might be a project to keep me busy in this coming week. My only complaint was that these weren't as good the second day, so I really needed to eat them all the first day. Sometimes life is hard.

Tuesday, September 24, 2013

Biscuits!

Being a proud Southerner, the two hardest things for me about living in DC are finding good sweet tea and good barbecue. I don't really make my own sweet tea, but sometimes I crave it, and I still can't find proper barbecue here. I've learned to live without those on a regular basis. One thing, though, I wasn't willing to live without was a proper biscuit.

My mom and grandma both made amazing biscuits, but their recipes were basically, "throw a little of this with a little of that, make sure the moisture is right" and then you had biscuits. I never quite mastered that. However, I did love to eat biscuit dough, so I knew what a proper biscuit should taste like before it went in the oven. After years of tweaking, I finally got it right!

4 cups all purpose flour (plus extra to dust the counters)
1 Tablespoon baking powder
1 teaspoon baking soda
2 teaspoons salt
1/2 cup butter (chilled and cut into pieces)
1/2 cup shortening (chilled)
1 1/2 - 2 cups buttermilk

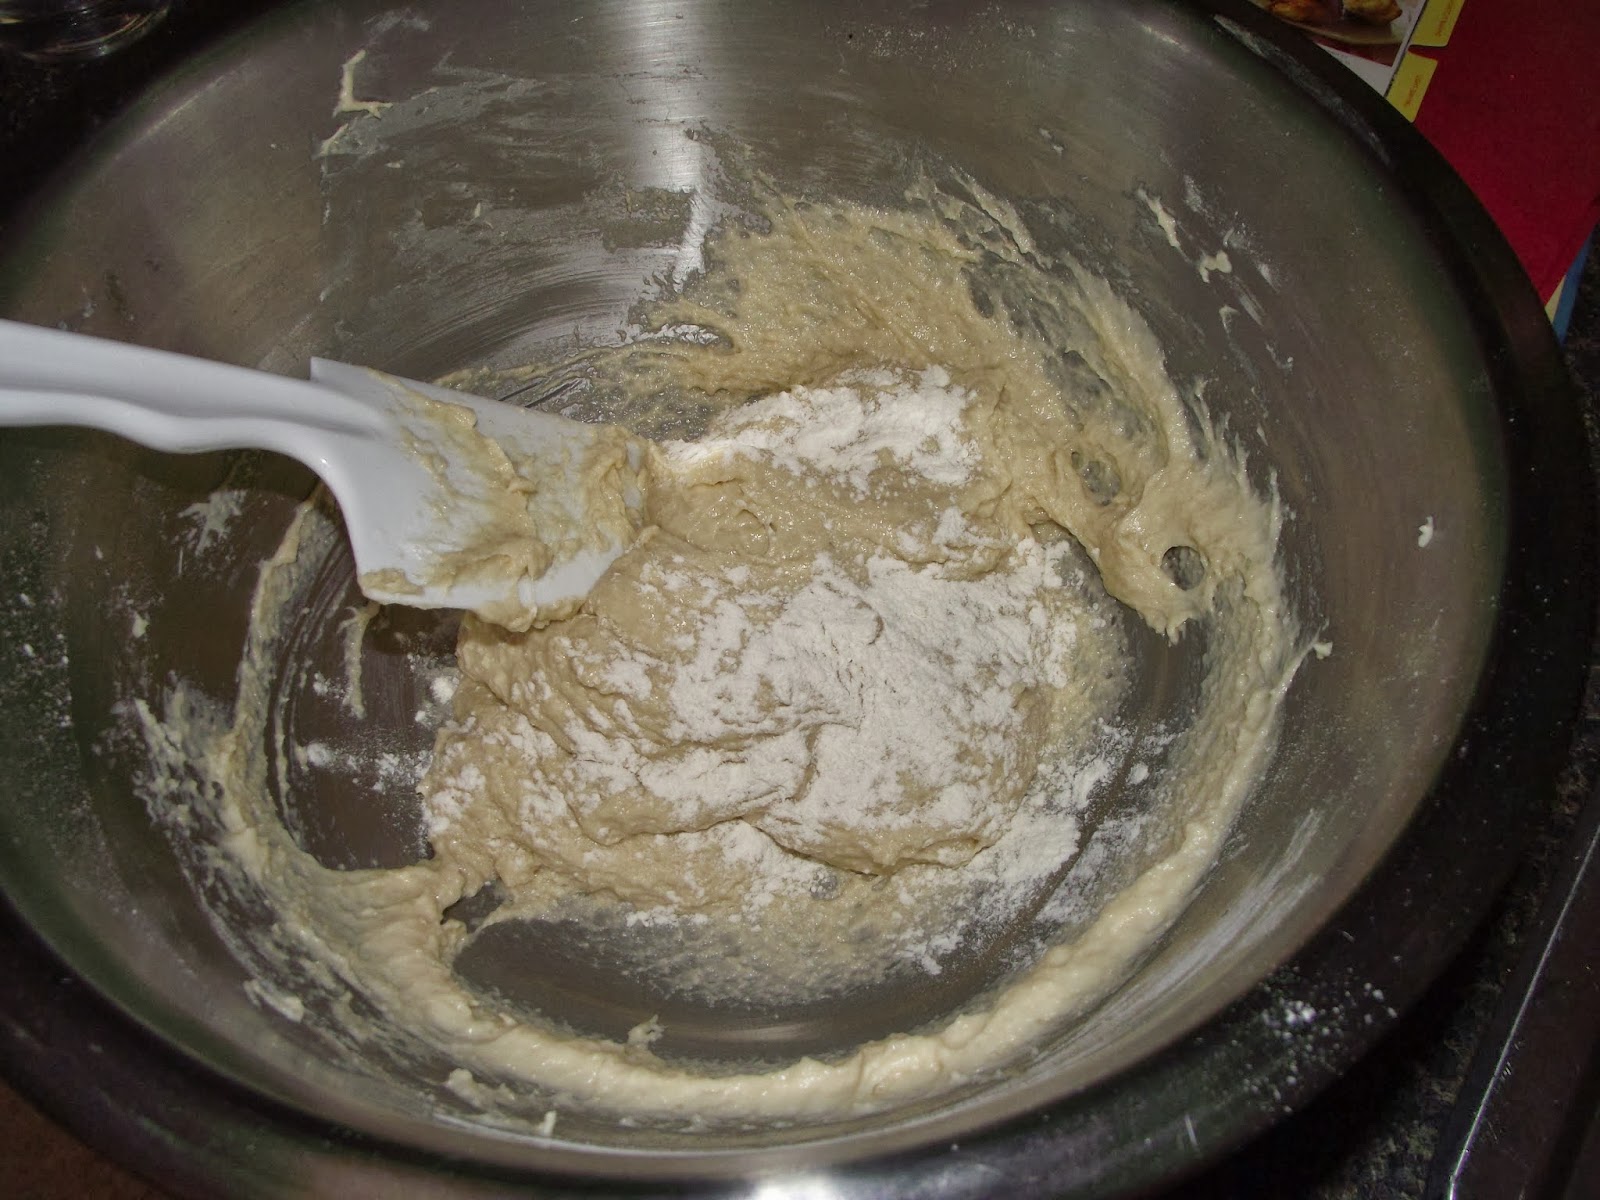
Preheat your oven to 375. Mix the dry ingredients together with a whisk (or use your pastry blender because you're about to break that out anyway). Sprinkle the butter and shortening over the flour mixture and cut them in with a pastry blender or two knives until the mixture is like coarse crumbs/peas/whatever visual you use to determine your butter has been properly cut into your flour. (This is why I don't often write recipes; it's all about feel to me.) Make a well in the center of the flour and pour in approximately a cup of the buttermilk. Mix with a rubber spatula until it comes together in a slightly damp ball. Add buttermilk as needed to get it to come together in a ball if it seems dry.
Flour your board/counter and dump the dough out. Knead it together a few times until it comes together in a smooth ball, but isn't overly sticky or tough. Pat it out with your hands (or roll with a rolling pin) until it is about 1 inch thick. (If you want thicker or thinner biscuits, make your dough fit your desires.) Use a 2 inch round cutter to cut your biscuits. Place about a half inch apart on a baking sheet lined with parchment paper. Brush the tops with buttermilk or melted butter. Bake for 25-30 minutes, or until golden brown on top. Remove from oven and the baking sheet as soon as they are done to keep from burning the bottoms. Makes approximately a dozen.
Serve with butter, honey, or just eat warm from the oven with nothing else. These are fluffy, the perfect amount of butter, and are good for breakfast, lunch, dinner, and snacking.

And yes, the dough for these tastes just right. Enjoy!